Special thanks to Steffen Hampel for his feedback, Film Composite for the plate, Gaëlle Seguillon for the lava photopack and all the artist at DICE that made the beautiful game that is Star Wars Battlefront.
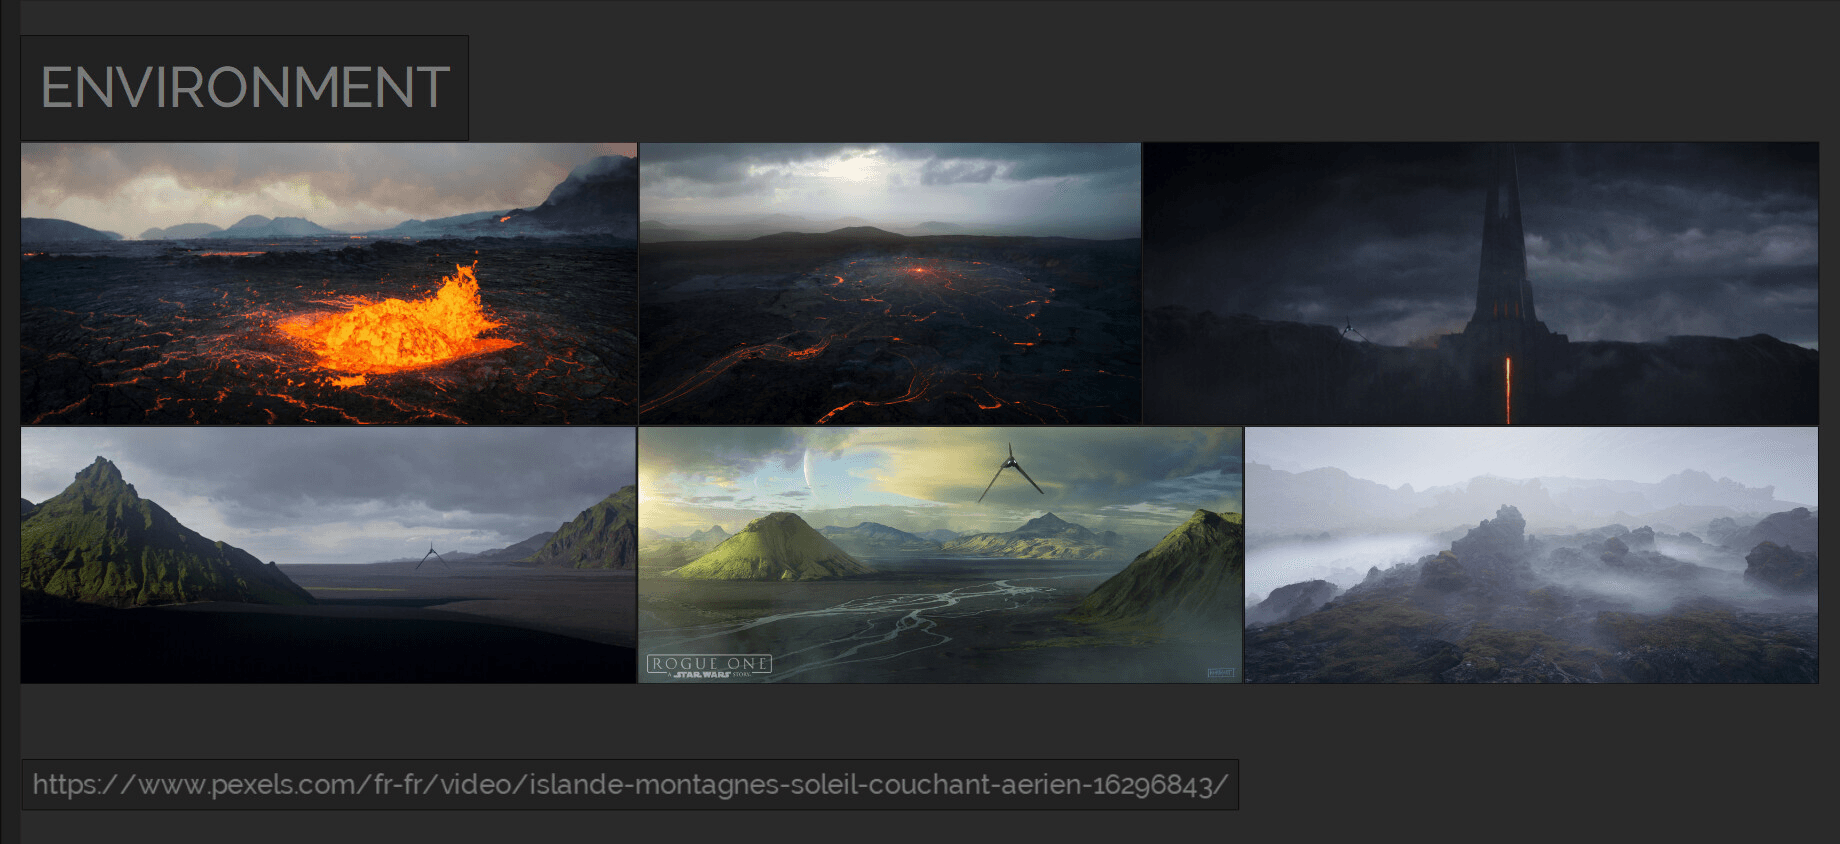
The environment is inspired by Lah'mu, the icelandic planet at the beginning of Rogue One. Home of Galen Erso. Imperial presence there doesn't make any sense but who cares, it looks dope.
For the landscape I chose this plate, a 4k video I found on Pexels provided for free by Film Composite
(https://www.pexels.com/fr-fr/video/islande-montagnes-soleil-couchant-aerien-16296843/)
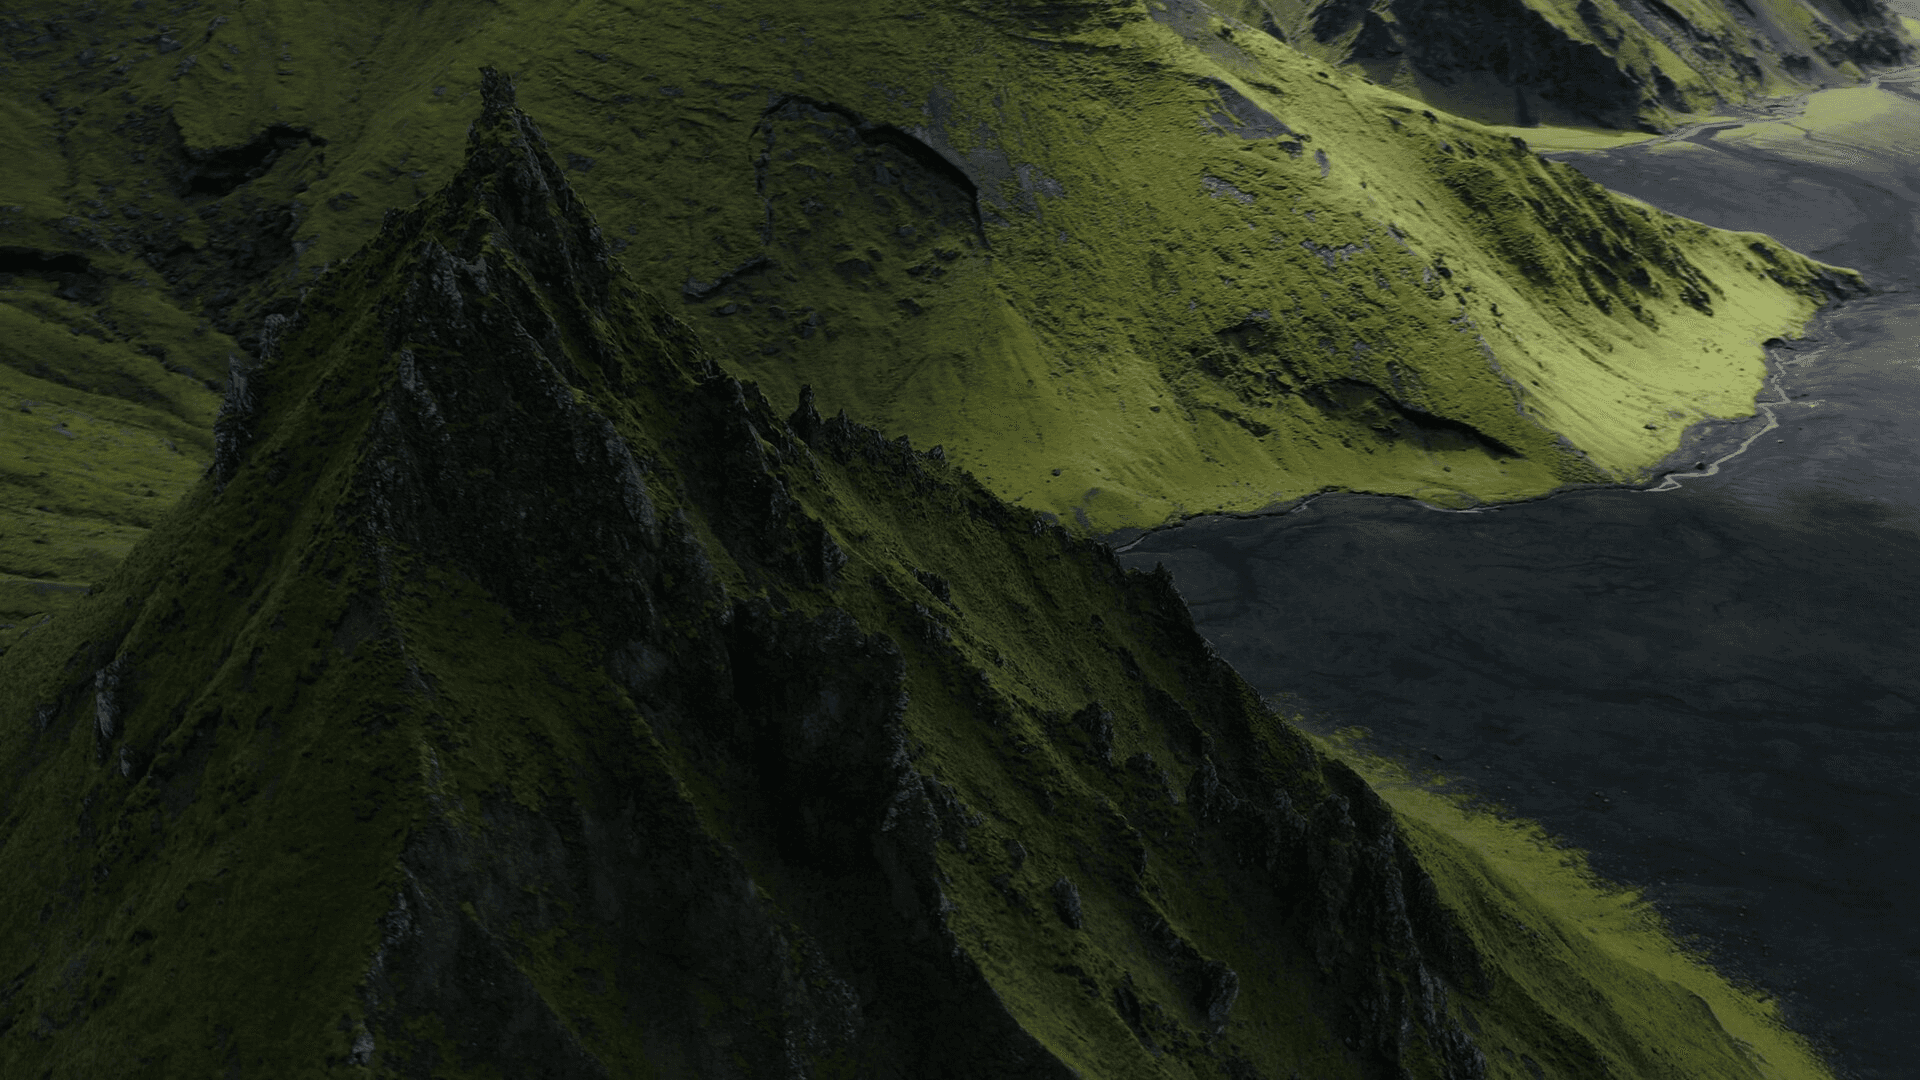
I then played a very long and fun game of geoguesser trying to find where this mountain is.
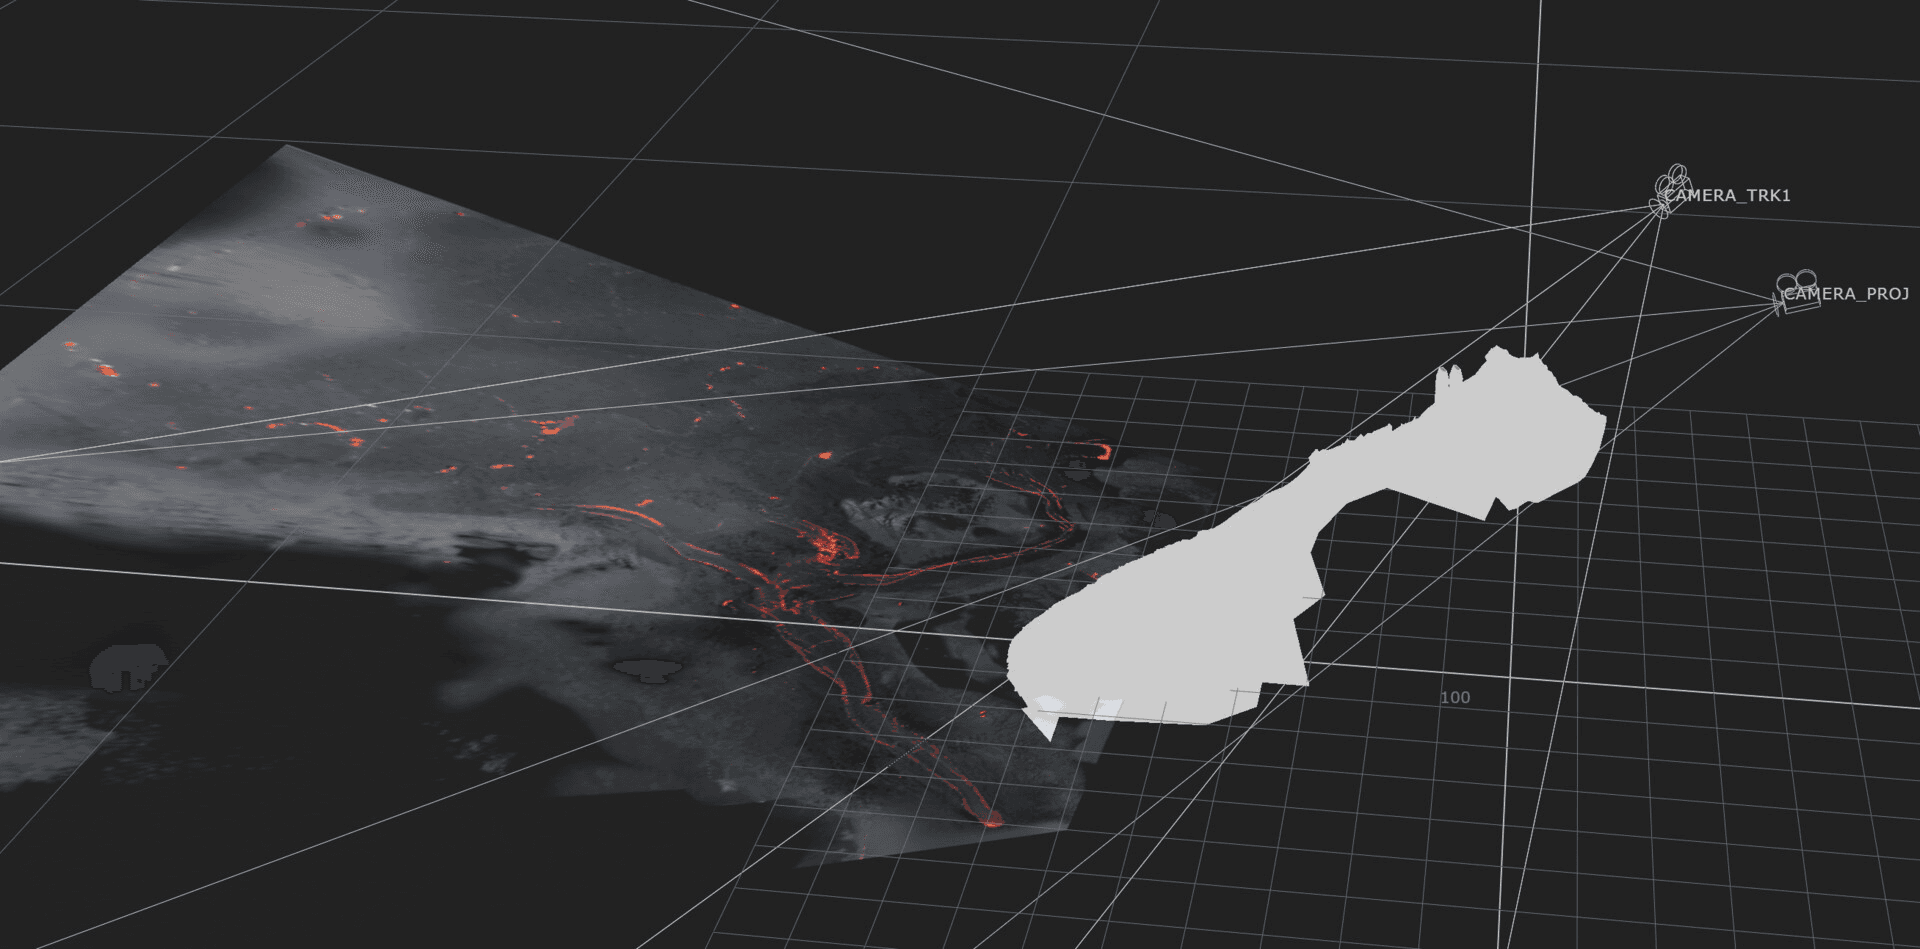
I always do this to get accurate measurements of the plates (or virtual environments I replicate). Working at the correct scale is one of the things you don't want to screw up or eyeball when working on a big shot.
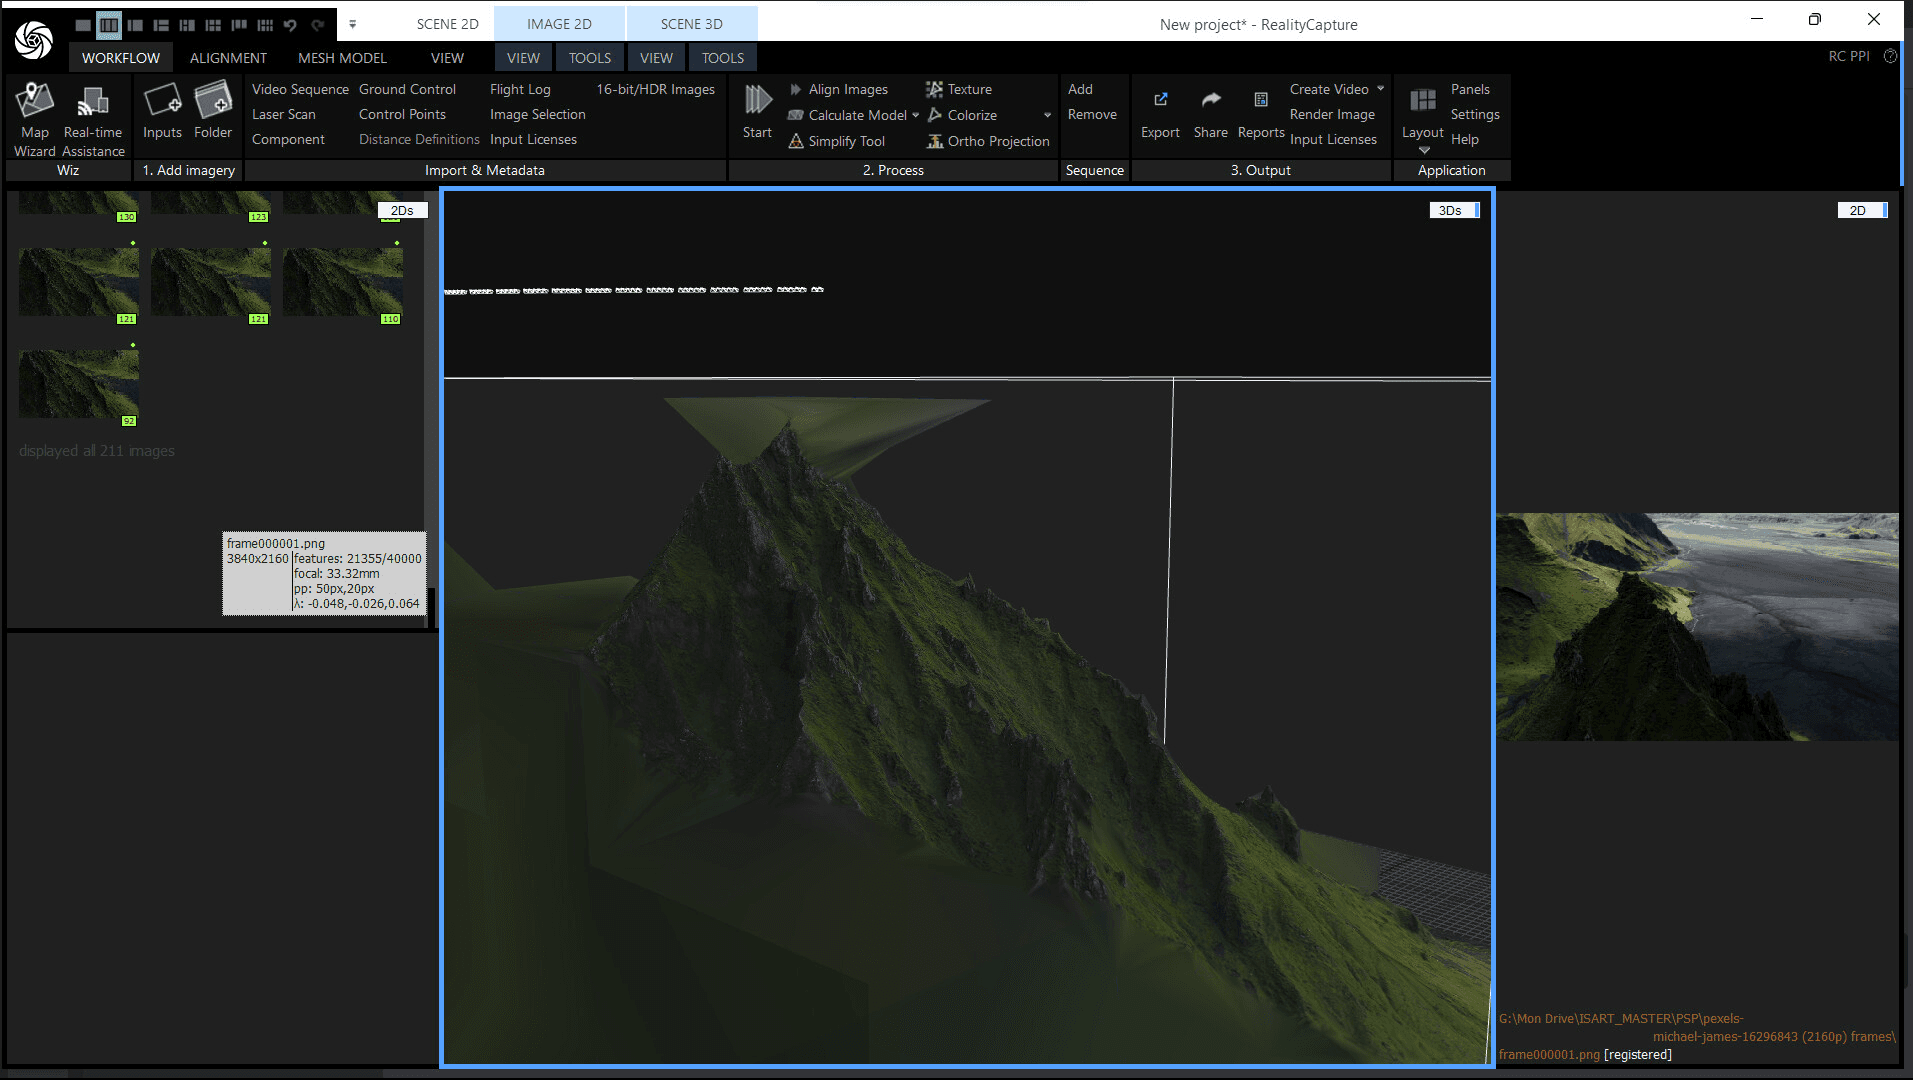
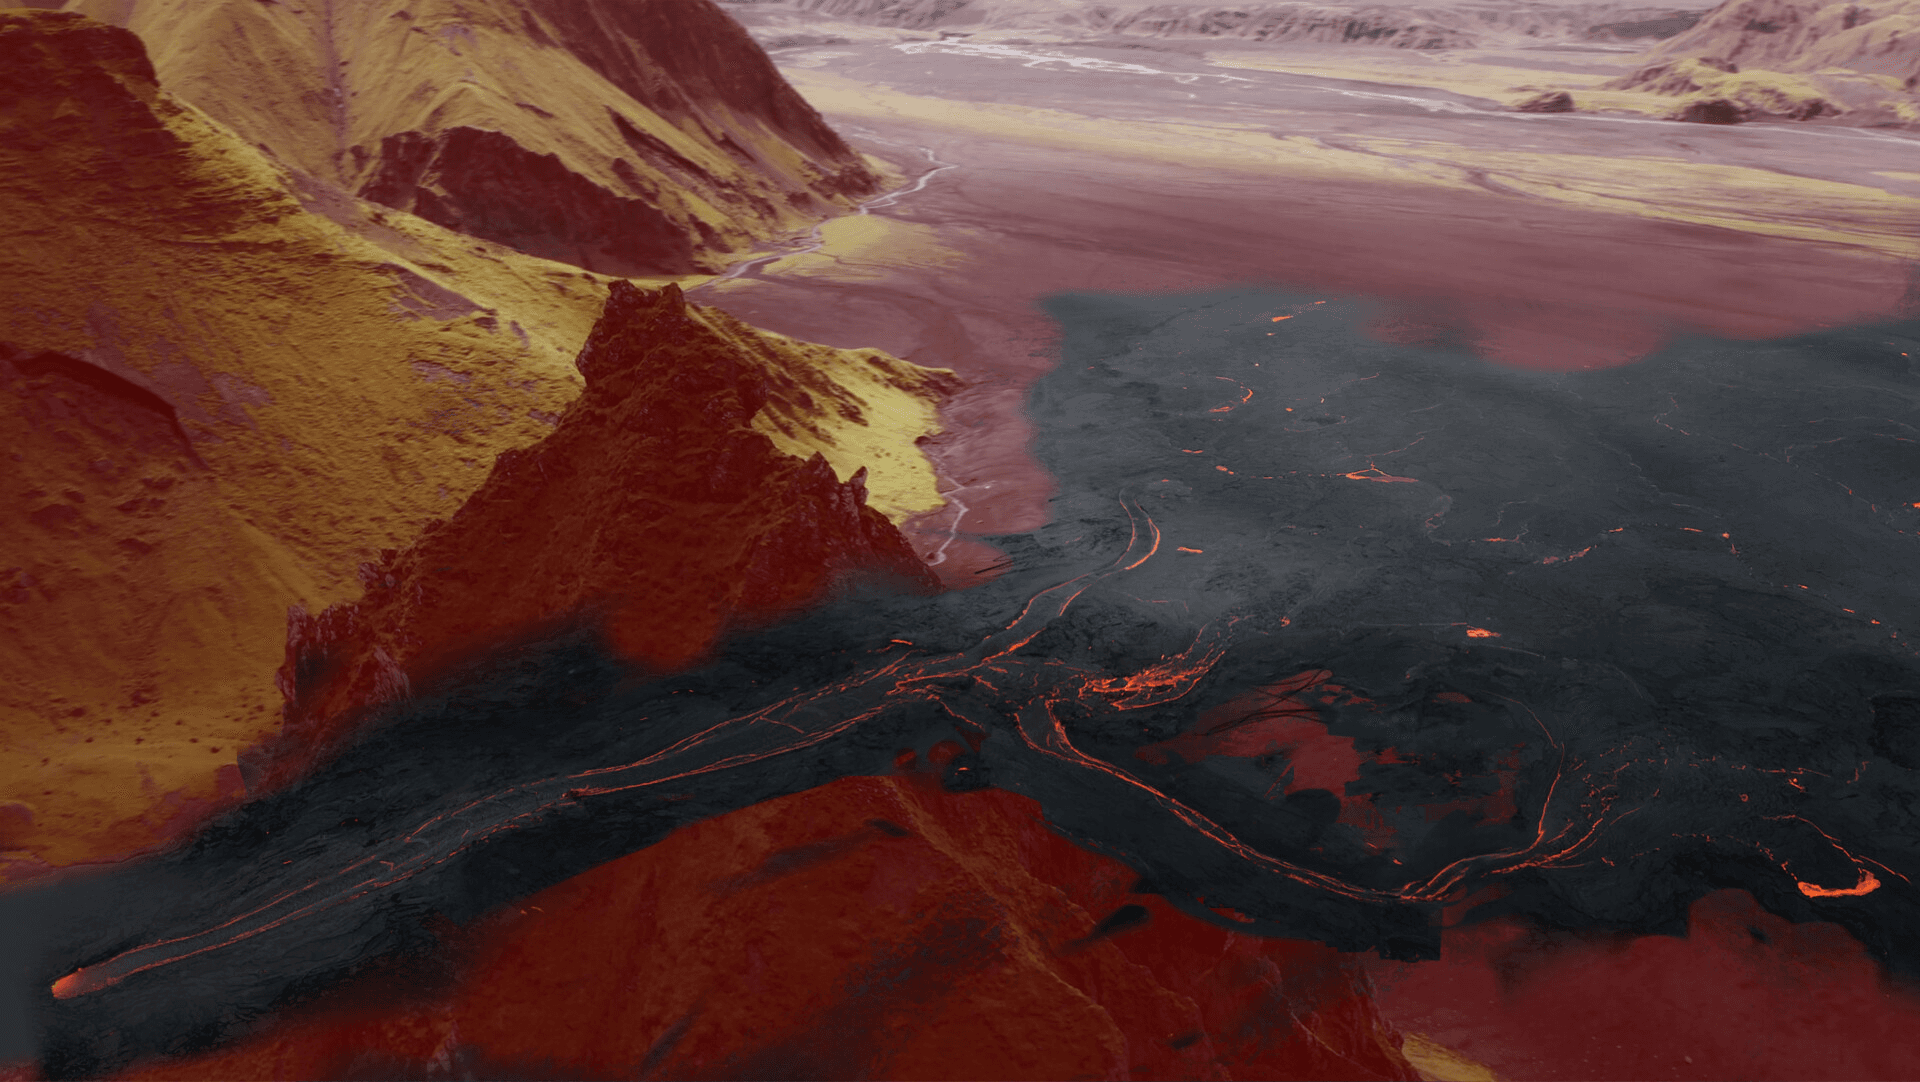
From this video I was able to track a camera in Nuke and do a photogrammetry in Reality Capture of the mountain which would come in handy for scene assembly, contact shadows, bounce light and masking.
The quality is surprisingly sharp, so if I ever need gigantic and original natural landscapes It's cool to know I can use random drone footage from the internet.
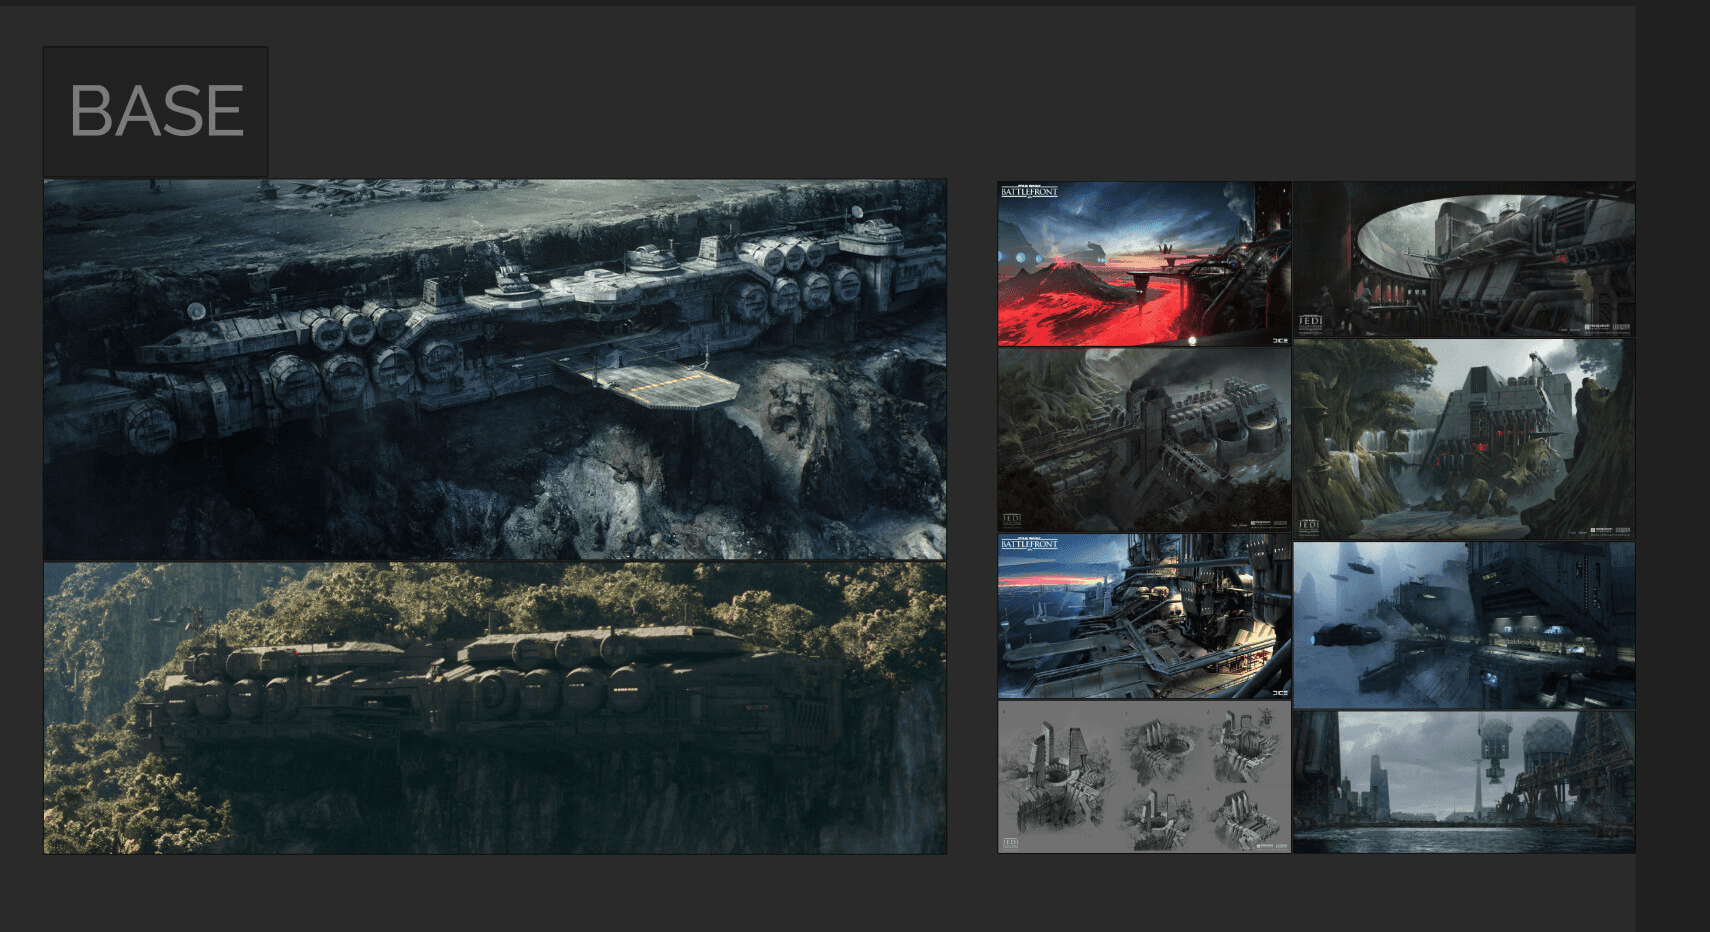
One of the main inspirations for the base is the work of Masashi Imagawa the goat, as well as the design of the imperial research lab on Eadu.
I also wanted a more industrial look with antennas and pipelines running down the mountain similar to the Sullust maps of Battlefront 2015.
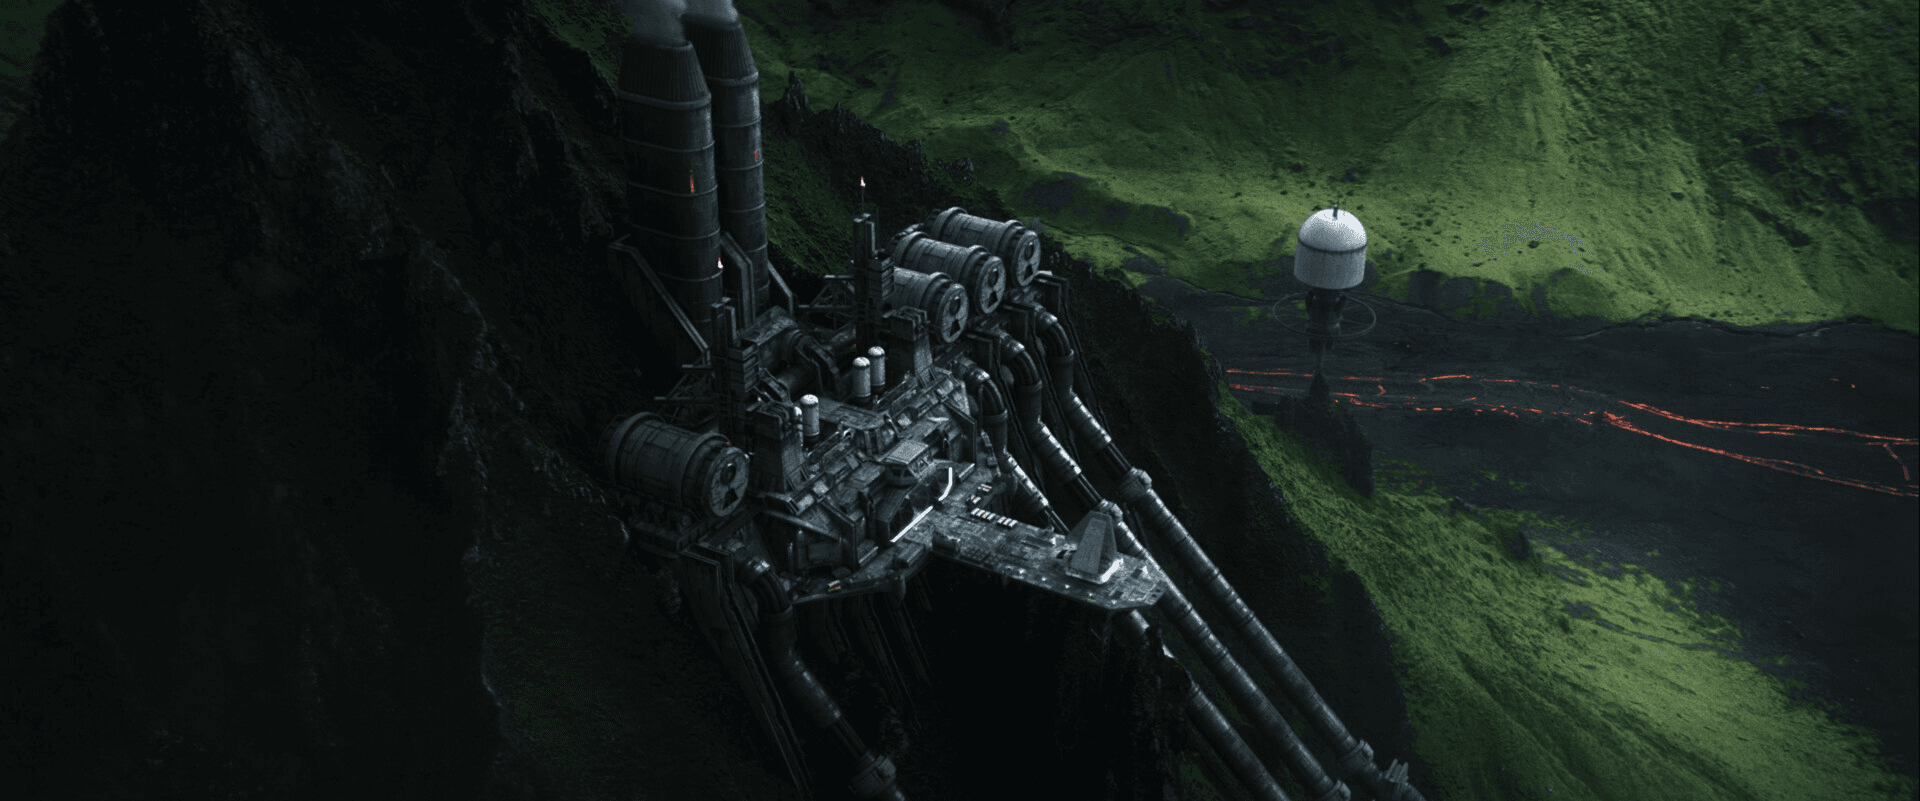
I eventually decided to go for a "dam" look with a landing platform taking advantage of the spires.
Fun fact: those buttresses are actually salvaged from the edge of a Star Destroyer.
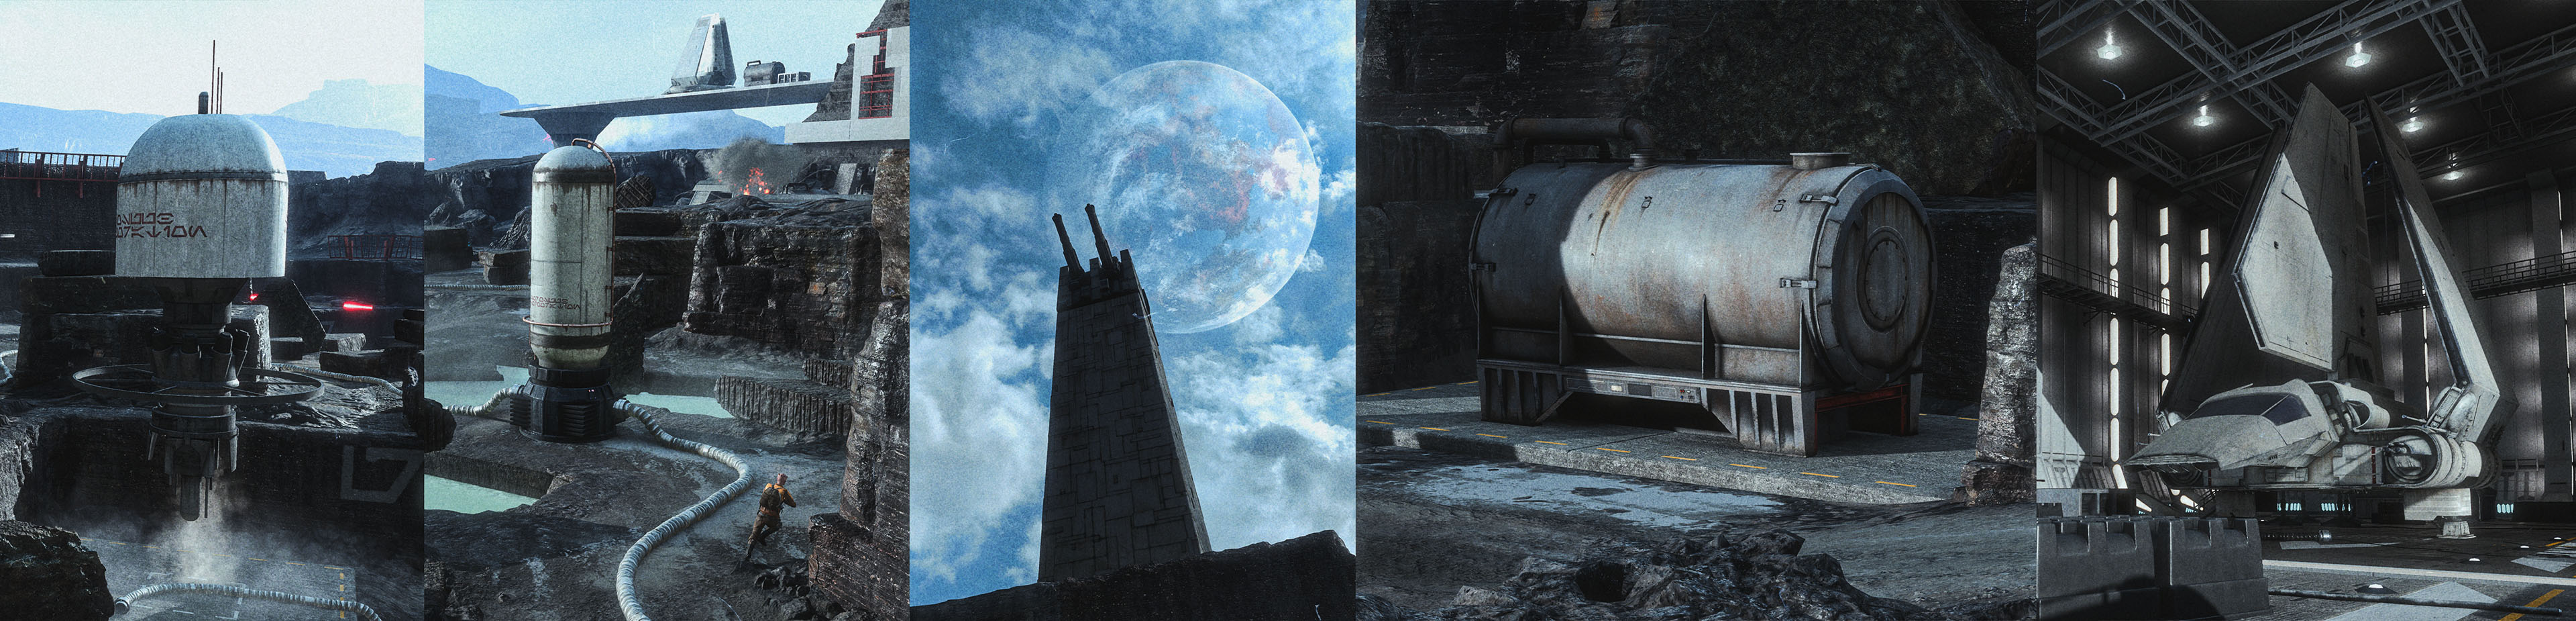
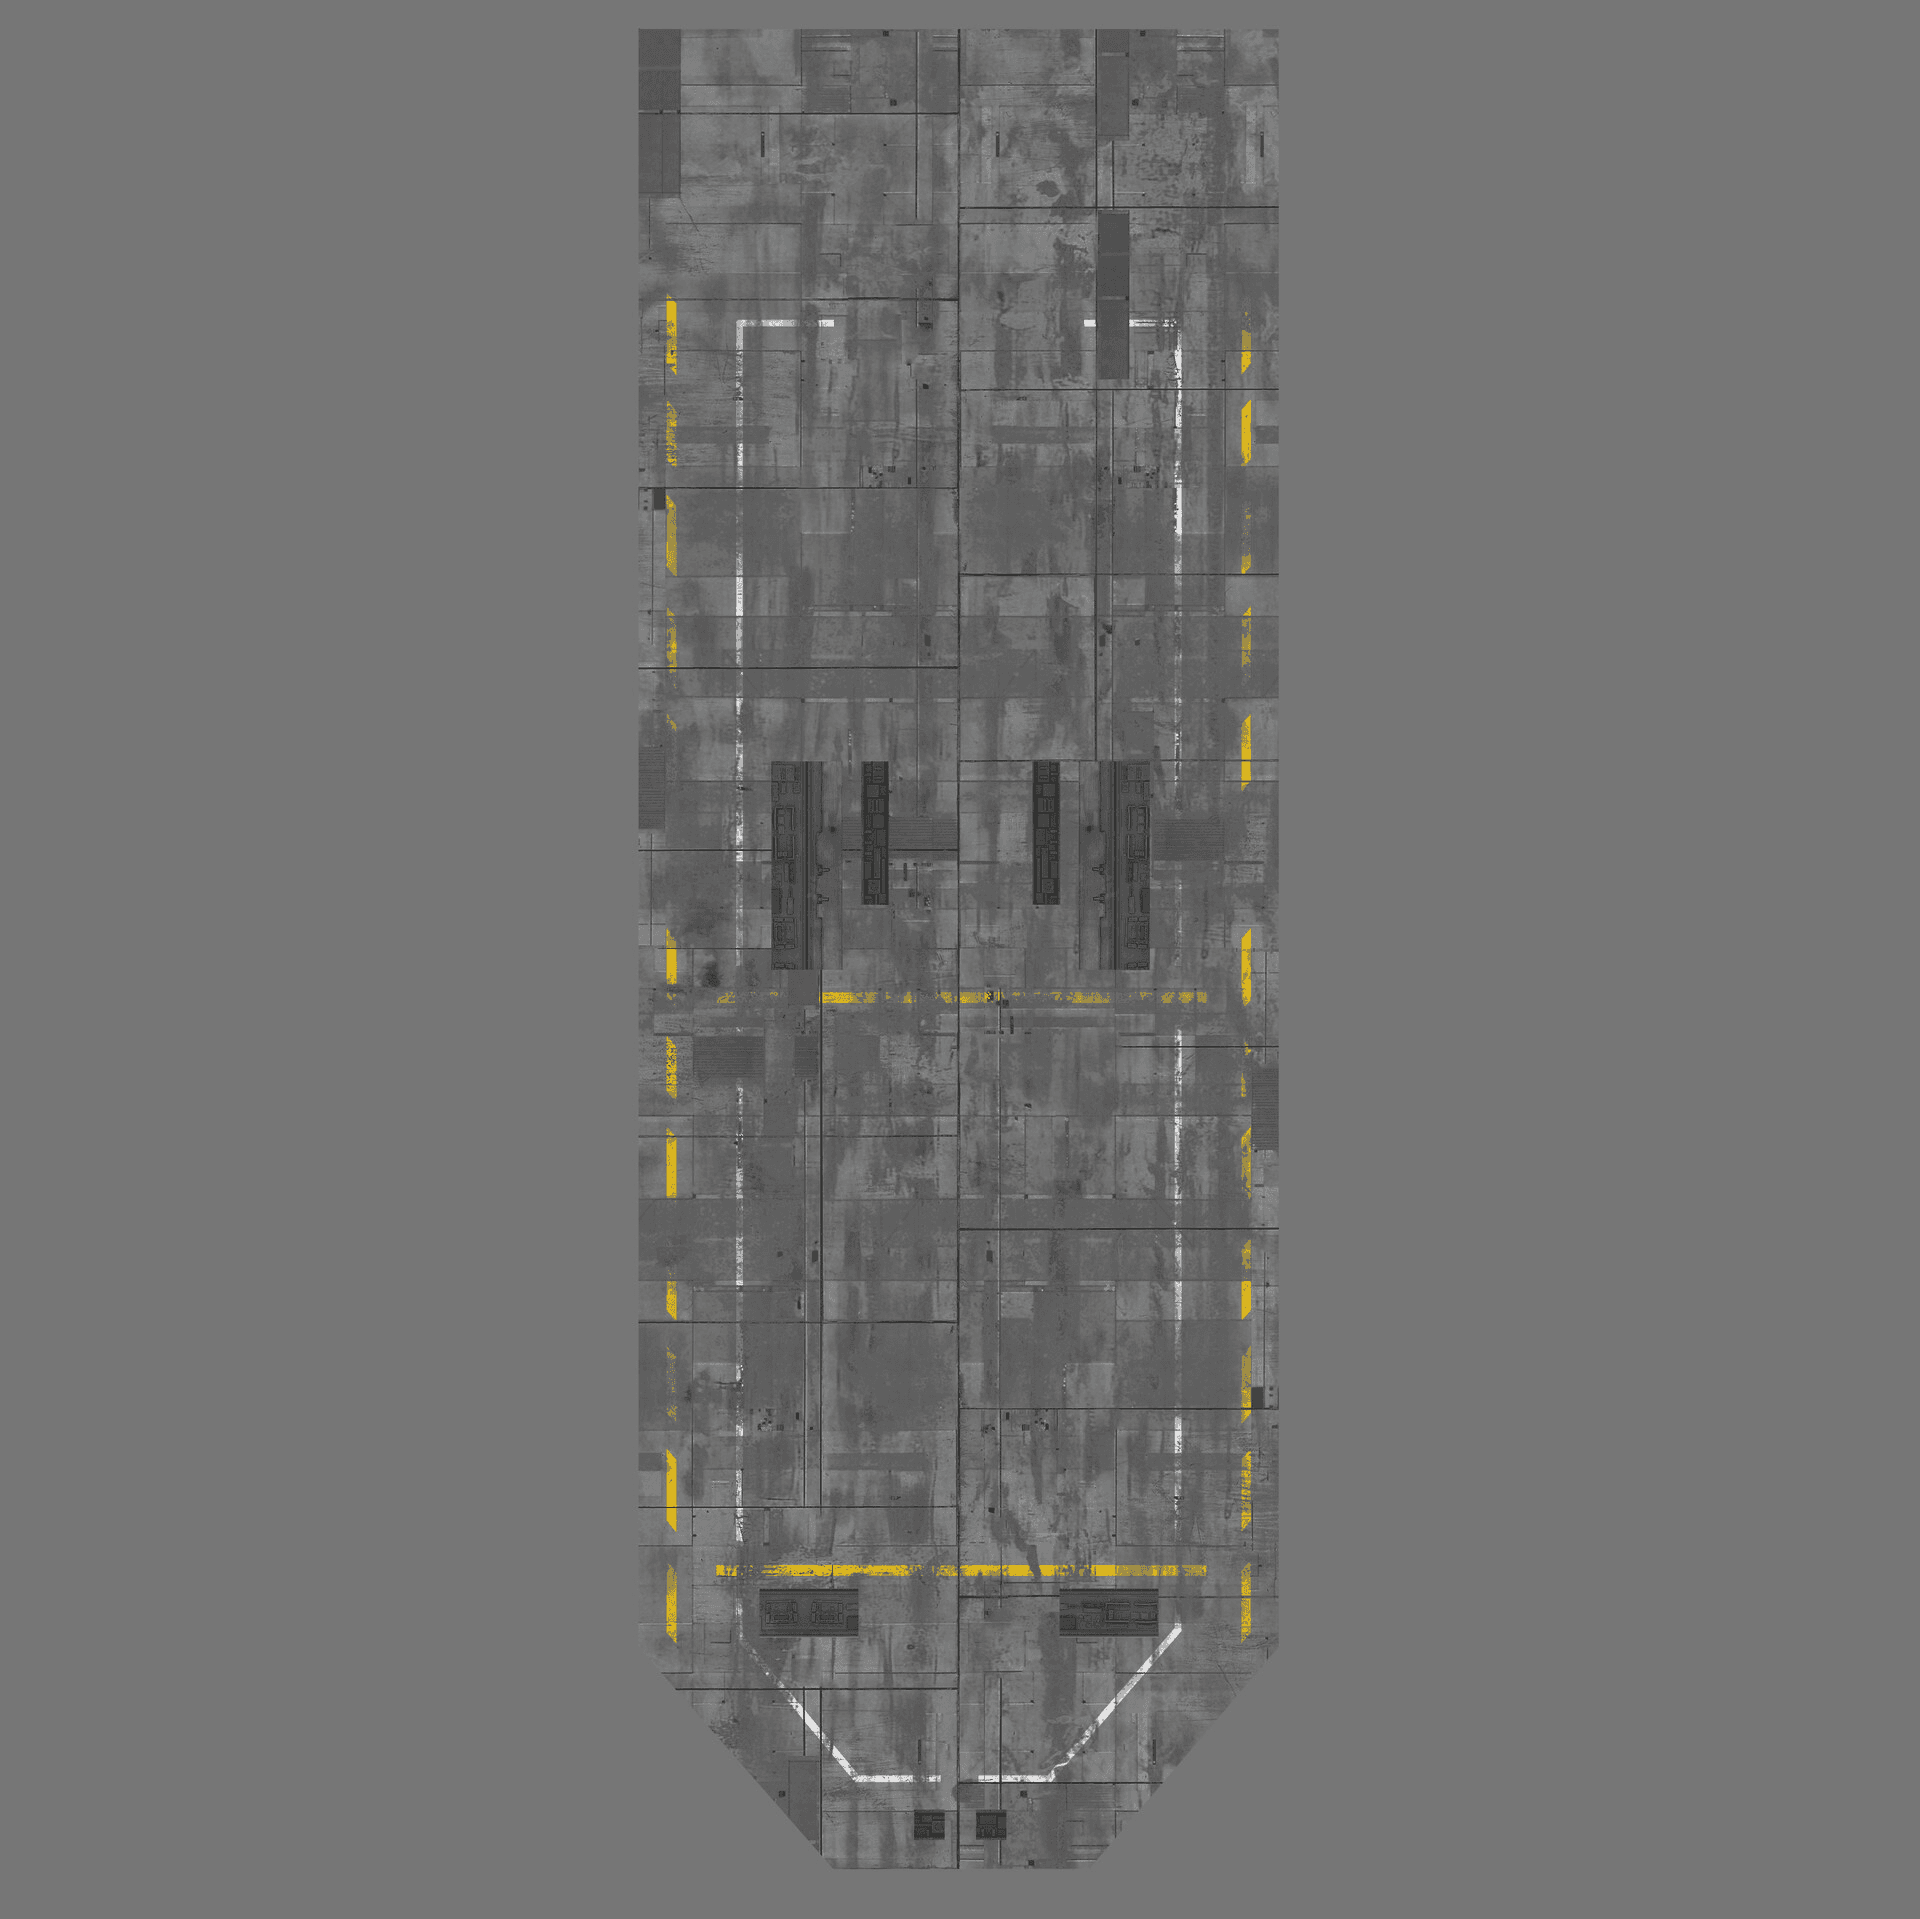
The modelling was a mix of custom made assets and kitbashing.
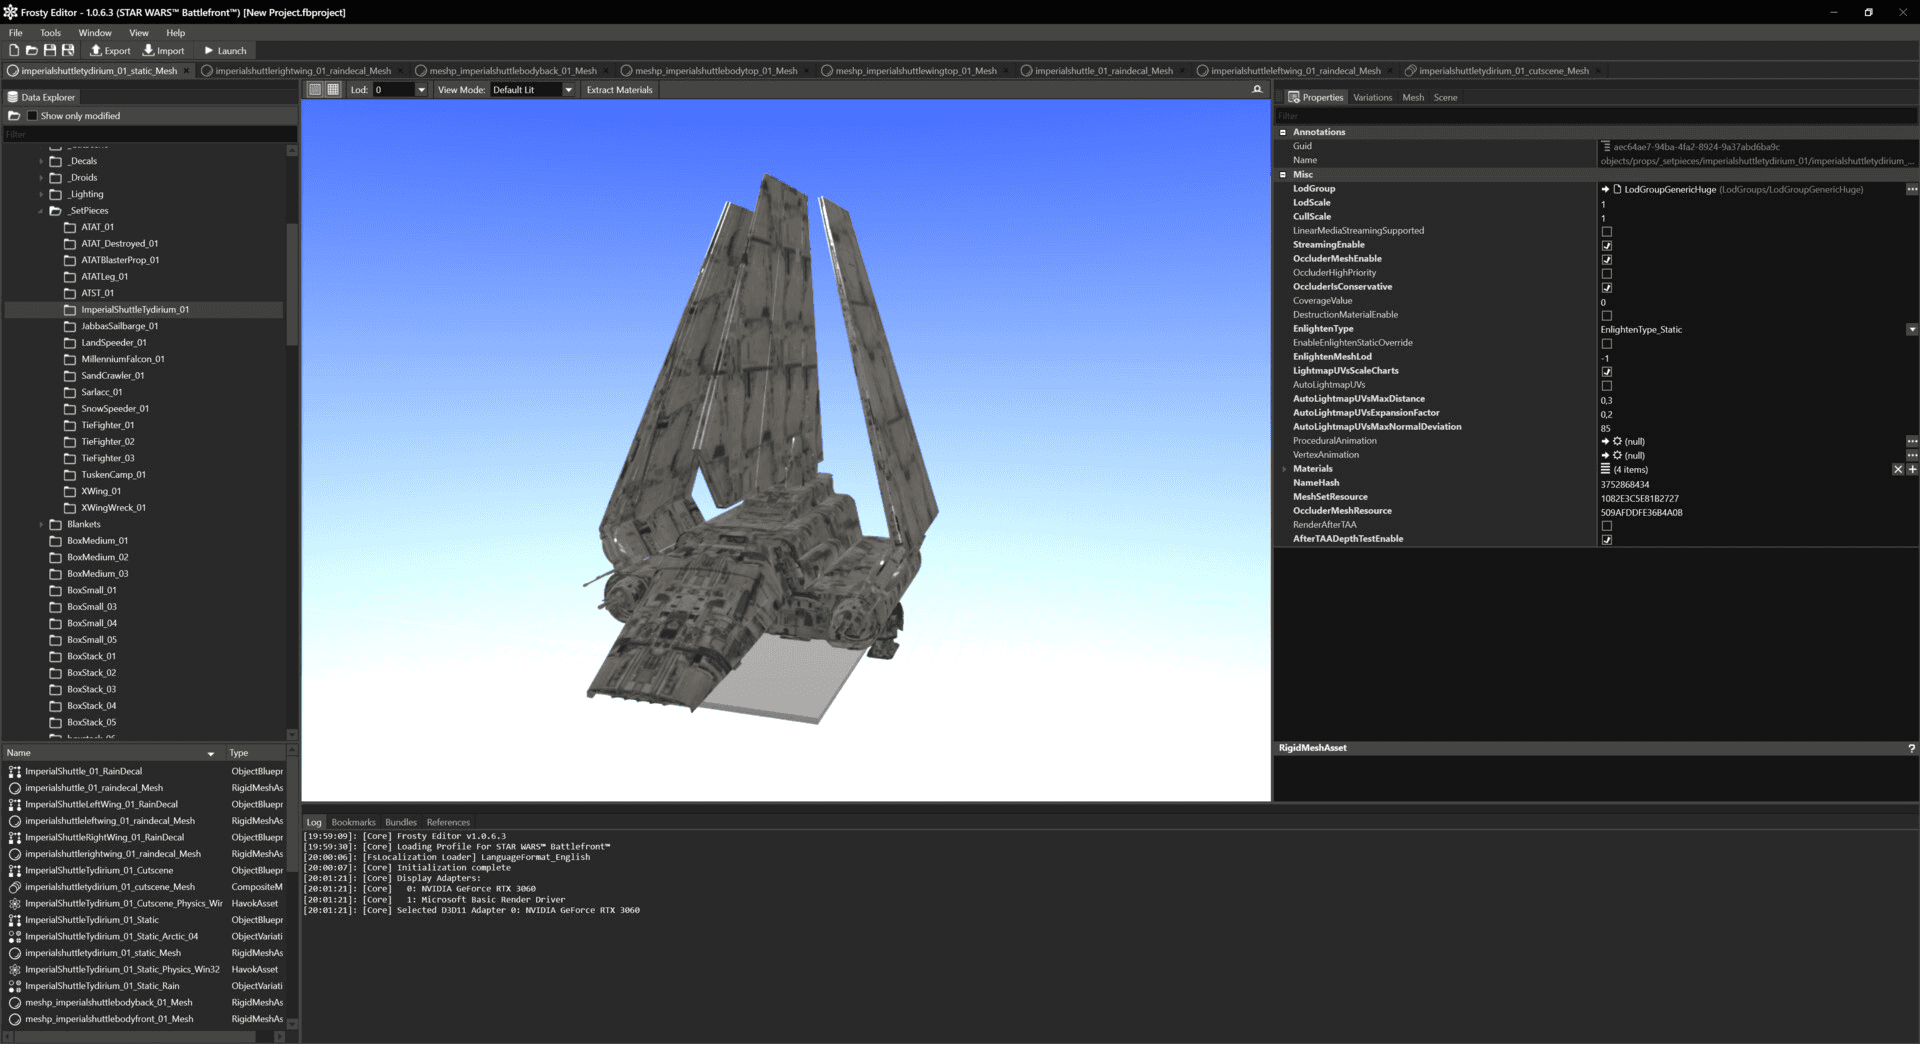
For the kitbashing, I used Frosty Editor to extract assets from Star Wars Battlefront (2015). I had a blast reverse engineering all the channel packing and material blending. Gamedevs really are next level when it comes to optimization.
For the important assets I would hand paint the textures in photoshop like the OGs and turn it into PBR materials.
Using Substance 3d Sampler (formerly substance alchemist) you can generate normal and roughness information. It was good enough for the distance.
I also profusely use a software called Materialize to do this type of operation, turning any photo into a finished PBR texture (very Ian Hubert Style of texturing) for fast photorealistic results. Starting a substance painter scene for every asset would otherwise be a tragic mistake.
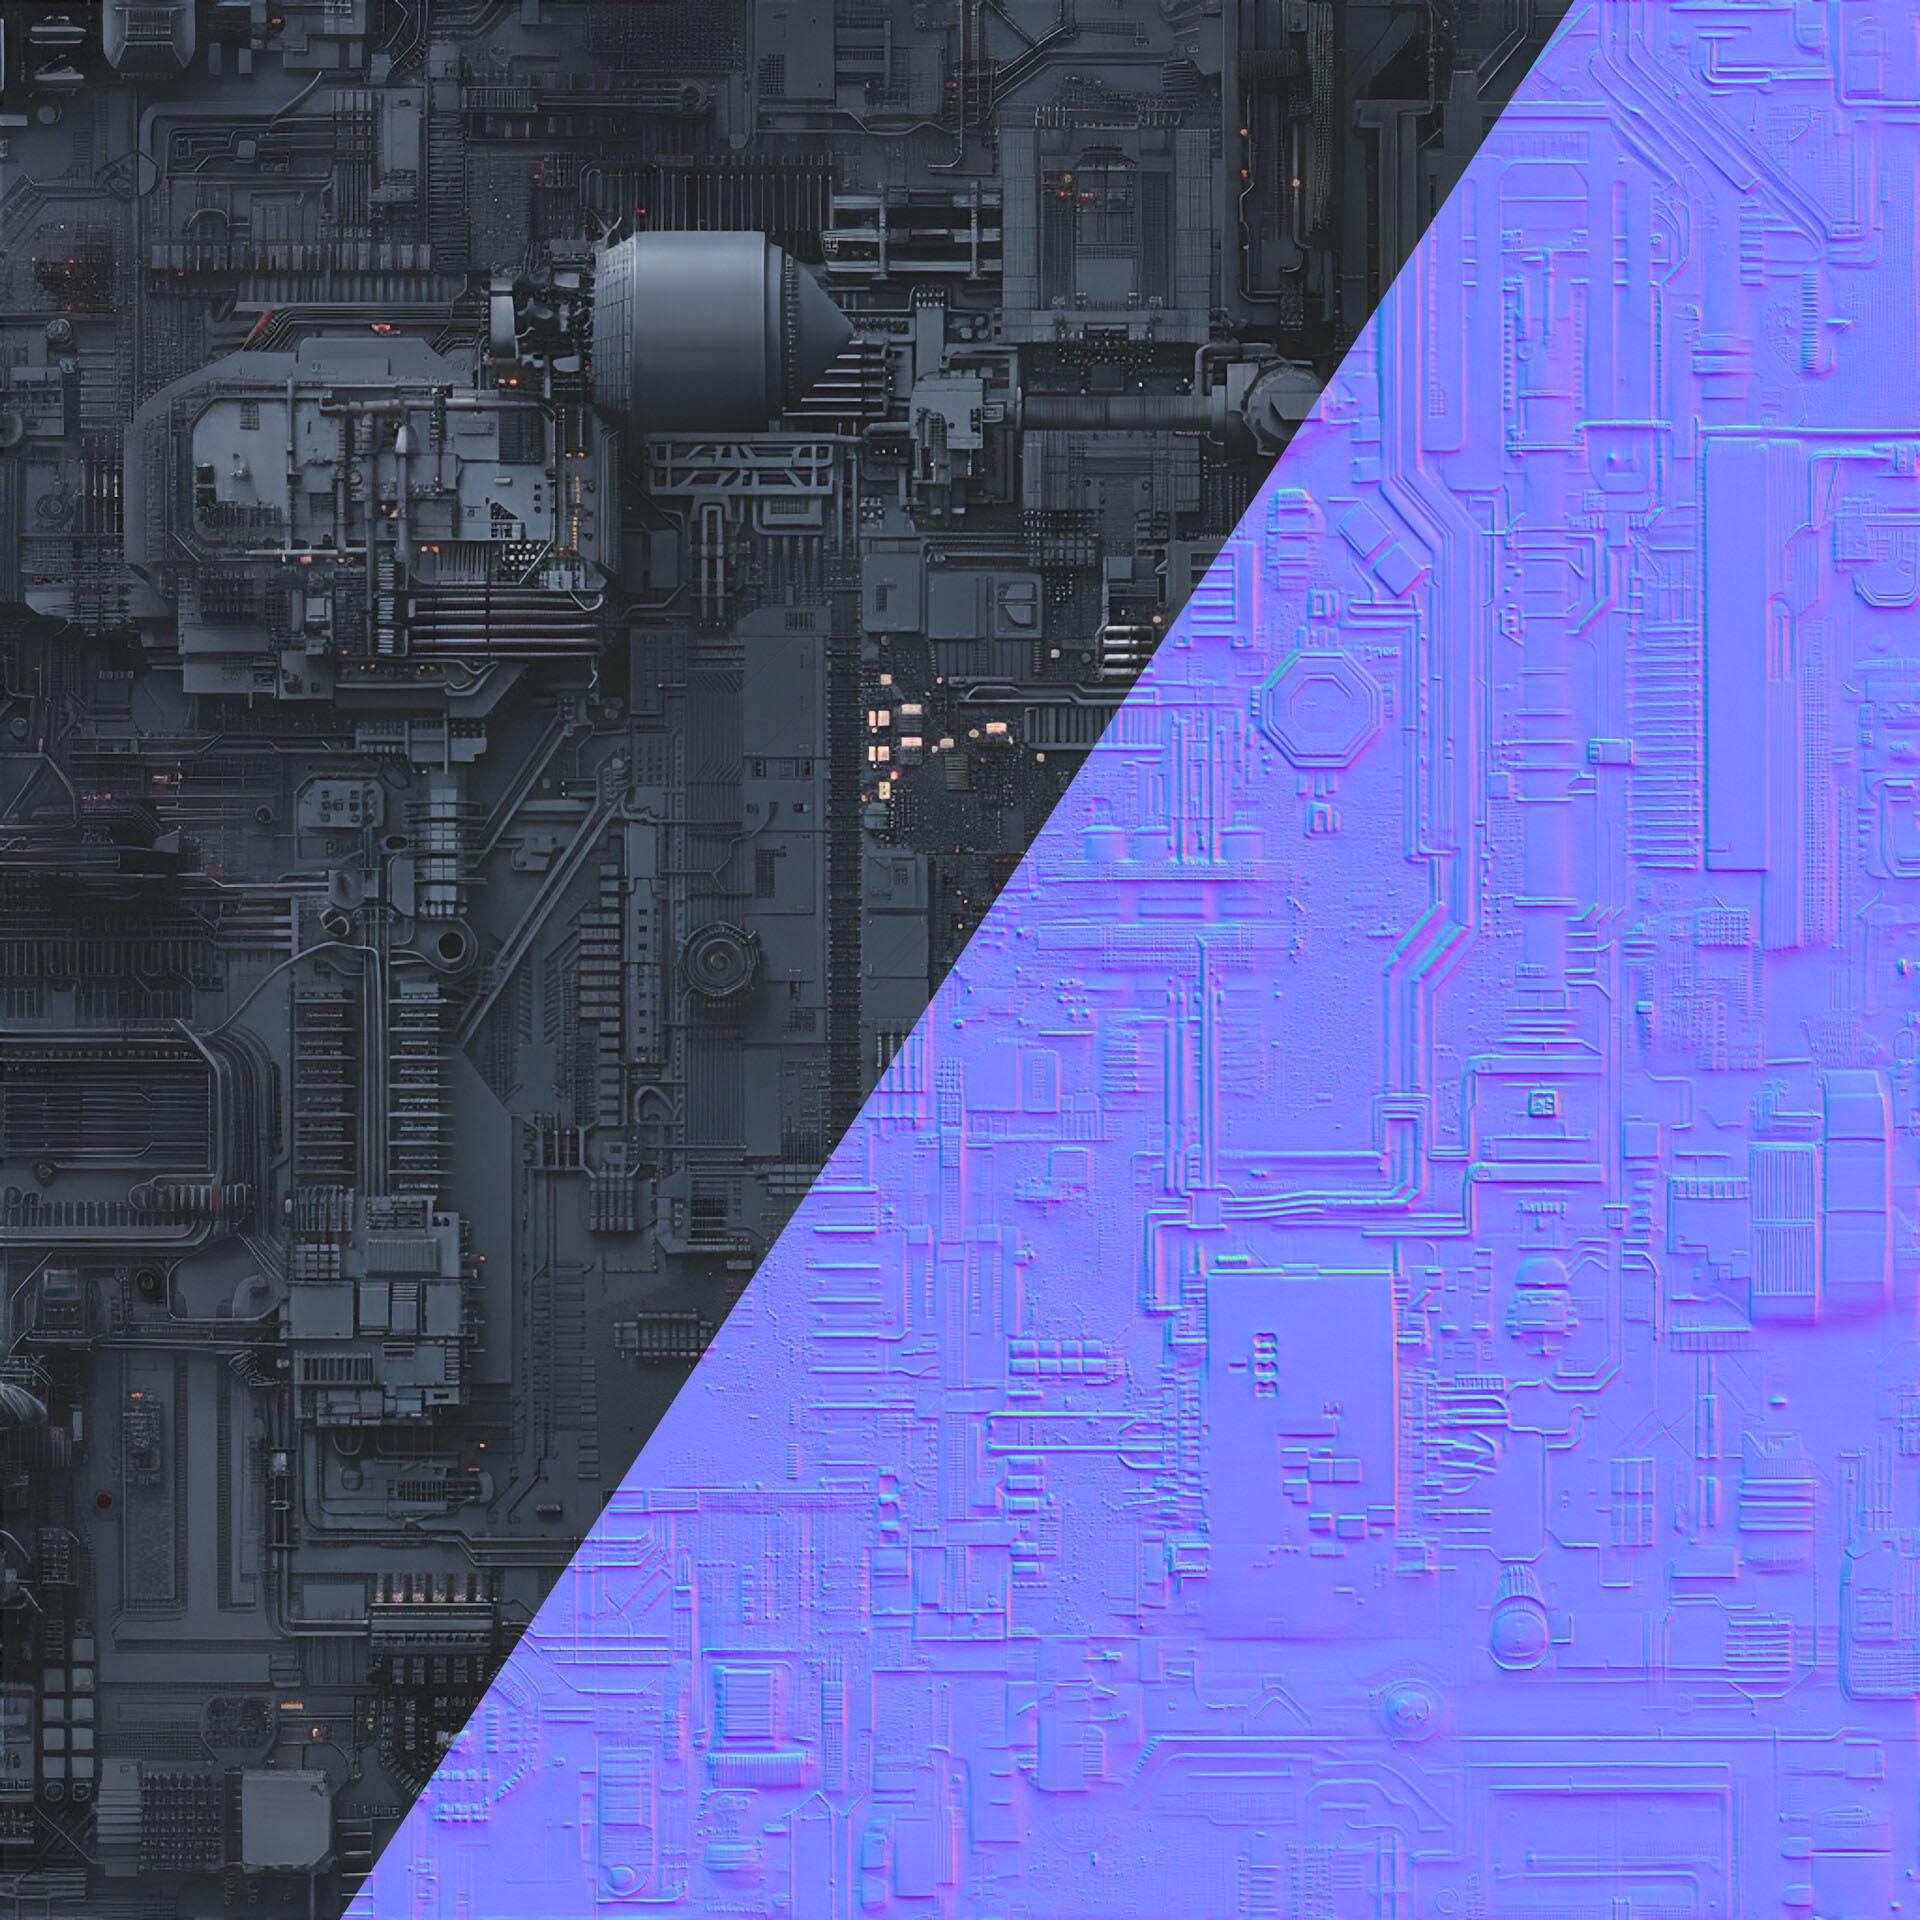
I also made a few generic greeblies textures using midjourney and made them seamless.
This is how AI should be used honestly, very sparingly and to help artists create barely noticeable details that would otherwise be very work intensive/impossible. Not have our tools take creative control away from us.
For the Lava in the valley I used Gaëlle Seguillon's Lava Lake Pack as a main source for matte painting.(https://www.artstation.com/artwork/OoA4Lb)
The following may sound like gibberish but it is important knowlege for matte painting learners :
I used the classic production workflow by matte painting in acesCCT using LUTs.
Default photoshop colorspace is Rec709. That means the values you can paint are stuck between black and white.
Unfortunately, not all whites are equal in a picture. Although the clouds may appear white, the sun which appears just as white is actually millions of times brighter.
Your compositing artist wants this information, and may suffer from depression if you fail to provide it.
When things are brighter than white (lamps, sun, specular highlights) and affect the comp (glow, bright bokeh, flares, motion blur), you have to find a way to paint in HDR which is why this workflow exists.
The idea is to work in LOG 16 bit.
LOG is that very flat gamma cinema cameras use to record the maximum dynamic range possible. It ensures there is no clipping/clamping of the data.
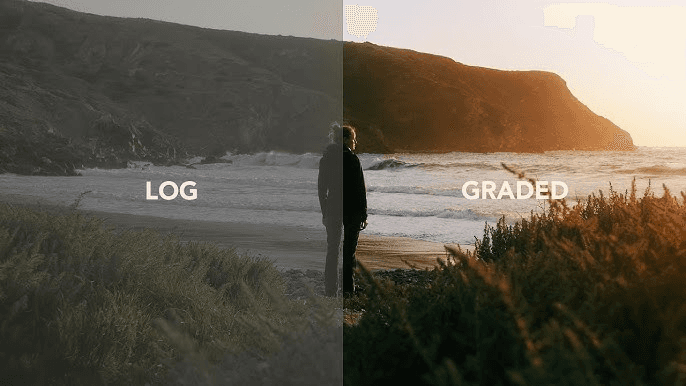
Now our matte painting has this very flat look but we need to see the result on our monitor.
Thankfully we can import LUTs in Photoshop with the adjustment layer called "Color Lookup". We work the matte painting under a LUT that adds contrast to our work.
In technical terms, this is a display LUT, converting your work from ACEScct (ACES log) to Rec709 (Your display).
Once done, you disable the Lut and export the LOG matte painting in 16 bit tiff or png.
The comp artist then feels safe and loved.
If you ever need these LUTs you can easily create them in Nuke, or leave a comment and I can send them to you for free.
I initially thought I would need more than one projection considering the rather extreme landscape and camera movement, but it proved not to be necessary with enough resolution.
The smoke was fun.
I wanted to try EmberGen for a long time and it was the perfect opportunity. It was surprisingly simple to learn. The two chimneys are just one animated VDB with a time offset. I also rendered some volumetrics for the fog in the valley. Just an animated perlin noise in the volume density.
Compositing wasn't very complex, I rendered all my layers and stacked them.
The scan of the mountain came in handy for masking, sparing me hours of rotoscoping as the camera rotates around the spires, revealing my CG render. It also was necessary for contact shadows to integrate the refinery.
The result is this massive Imperial Kyber Refinery.
What makes the shot feel like cheating is really that VFX sandwitch of real and fake. The same real mountain is both in front and behind the refinery, so the brain goes "that's real".
Stealing realism from the plate.

